
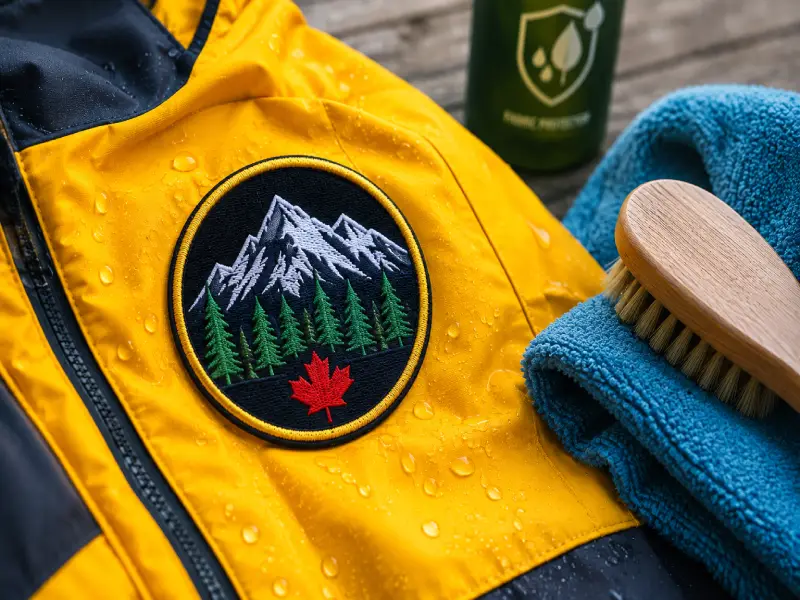
How to Protect Logo Patches From Canadian Weather & Wash
Patches take a beating in Canada. The combination of slushy winters, road salt, freeze-thaw cycles, and regular machine washing, especially on workwear and team uniforms, breaks down even well-made patches faster than most people expect. Edges start lifting, colours dull out, and backing adhesive loosens well before the jacket or bag it’s on is ready to be replaced.
This guide covers the practical side of patch care: how to wash garments with patches without damaging them, how to protect patches through a Canadian winter, and how to know when a patch needs replacing rather than repairing. No complicated steps, just what actually works.
Start With the Right Backing To Protect Your Logo Patches
A lot of patch damage happens before the patch ever goes through a single wash. The backing and attachment method on the underside of the patch determine how well it holds up over time, and most people don’t think about it until something starts peeling.
The four common options are iron-on, sew-on, Velcro, and peel-and-stick. Iron-on uses heat-activated adhesive, which is convenient but weakens with repeated washing and temperature changes. Sew-on is the most durable option for anything that gets washed regularly. Velcro works well for gear that needs to be swapped out but has to be attached properly to hold. Peel-and-stick is temporary. It’s not built for long-term use on washed garments.
For Canadian conditions specifically, iron-on alone isn’t enough. The freeze-thaw cycle loosens adhesive faster than consistent cold does. Always pair iron-on backing with stitching around the patch border. Before you order, ask your patch maker which backing suits outdoor or frequently washed gear for Canadian conditions. Most will point you toward sew-on or a combination of both methods. If you’re ordering personalized logo patches Canada-wide for uniforms or branded outerwear, getting this right at the order stage saves you from reattachment issues down the line.
Washing Patches Without Damaging Them
This is where most patch damage actually happens, not from wear, but from how the garment gets washed. A few simple adjustments make a significant difference in how long your patches hold up.
Water temperature and garment prep
Always wash in cold water. Hot water breaks down embroidery adhesives and loosens the backing faster than almost anything else. Before putting the garment in, turn it inside out to reduce direct friction on the patch surface during the cycle. If you’re washing a jacket or bag with multiple patches, a mesh laundry bag gives an extra layer of protection.
What to avoid in the wash
Skip the fabric softener. It coats the thread fibres over time and gradually dulls the colour, which is most noticeable on darker or detailed embroidery.
Drying
Air dry when you can. If you need the dryer, keep it on low heat. High heat is the most common reason iron-on patches start separating at the edges.
For frequently washed workwear
In construction, hospitality, or healthcare settings where garments are washed multiple times a week, sew down the full perimeter of the patch before the first wash, not just the corners. It takes a few minutes once and saves you from reattachment issues every few months.
Protecting Your Patches Through a Canadian Winter
Canadian winters are harder on patches than most people realise. It’s not just the cold; it’s the combination of road salt, wet snow, and repeated freeze-thaw cycles that gradually breaks down the thread dye and backing adhesive in outerwear and bags.
Road salt: The most overlooked problem
Salt residue is the biggest threat most patch owners don’t think about. When slush and salt water dry onto a jacket or bag, they leave behind residue that slowly degrades both the embroidery colour and the adhesive underneath. After any exposure to slush or salt, wipe the patch gently with a damp cloth before it dries. Don’t leave it to sit.
Protecting outerwear patches
- Apply a light fabric protector spray, such as Scotchgard, over the patch area before winter starts. It repels moisture without affecting the embroidery texture or colour.
- Avoid folding stored jackets directly on the patch during off-season storage. Creasing in the same spot over months gradually weakens the backing adhesive.
Bags and backpacks
Patches on bags take more direct snow and slush exposure than outerwear does. Check the edges every couple of months and press down any lifting corners with a warm iron on low heat, using a pressing cloth between the iron and the patch.
Freeze-thaw cycles
This is particularly damaging for heat-applied patches. The repeated expansion and contraction of fabric in freezing and thawing conditions loosens iron-on adhesive over time. If your patch is on a jacket you wear through full Canadian winters, sewing the border is the most reliable long-term fix.
Why Patch Condition Reflects Your Brand
For individuals, a worn patch is a minor inconvenience. For businesses, it’s a different issue entirely. A peeling or faded patch on a staff jacket or team uniform is essentially your logo looking unprofessional in public and in customer-facing settings, which matters more than most people account for.
Who does this apply to
Small businesses, restaurants, sports teams, trade contractors, and anyone who orders branded gear for a team or staff needs to consider patch maintenance as part of brand upkeep. When you use logo patches for branding on uniforms, team kits, or merchandise, the condition of those patches is a direct reflection of how your brand presents itself.
Seasonal check-ins
Set a simple inspection routine at the start and end of winter. Check every piece of branded gear for lifting edges, faded embroidery, or separating backing. Replace damaged patches before the gear goes back into use.
Consistency across the team
Replacement patches should match the original spec exactly, with the same thread colours, same size, same backing type. If you’re reordering personalized logo patches Canada-wide for a full team, share the original order details with your supplier so everything stays consistent across all pieces.
When It’s Time to Replace Your Patch
Some patches reach a point where repair isn’t the practical option anymore. After two to three Canadian winters of regular use, it’s normal to see wear that’s simply beyond fixing and recognising that point saves you time and money.
Signs it’s time to replace
- Fraying that has gone past the border stitching
- Colour that has washed out or faded by more than half
- Backing that has fully delaminated and won’t re-adhere
Repair vs. replace
Re-ironing or patching over a heavily damaged patch rarely holds for long. At that stage, a clean replacement is more cost-effective and looks significantly better, especially on branded or team gear.
When reordering, consider updating the design
If you’re placing a new order anyway, it’s worth taking a moment to learn modern patch style ideas, techniques like 3D puff embroidery, woven patches for finer detail, or glow-thread finishes that have become far more accessible in recent years. A replacement order is a natural opportunity to refine the design without starting from scratch.
Quick Care Tips to Keep Your Patches in Good Shape
Washing
Cold water, inside out, mesh laundry bag if you have one. Skip the fabric softener and air dry where possible if you use a dryer, keep it on low heat.
Winter care
Wipe off salt and slush residue with a damp cloth before it dries. A fabric protector spray on outerwear patches before winter starts goes a long way.
Storage
Don’t fold jackets directly on the patch during off-season storage. Hang them or store flat to avoid creasing the backing.
Branded gear
Do a quick inspection at the start and end of each winter season. Catch lifting edges or faded embroidery early. Replacing one patch is far easier than replacing a full set mid-season.
Things People Usually Ask About Patch Care
Can I iron my patch back on after it starts peeling?
Yes, as long as the fabric underneath is still intact. Place a pressing cloth over the patch, use low heat, and apply firm pressure for 30 to 45 seconds. If it starts lifting again within a week, sewing the border down is the more reliable fix at that point.
How often should I wash garments with patches?
Wash when the garment actually needs it, not on a fixed schedule. Overwashing is one of the most common reasons patches degrade faster than expected, especially on workwear that goes through the machine multiple times a week.
Do patches fade faster in Canadian winters?
They can. Road salt and repeated freeze-thaw cycles affect thread dye and adhesive over time. A fabric protector spray applied before winter starts reduces moisture exposure and helps the colour hold through the season.
Before You Head Off
Patches are low-maintenance by nature, but Canadian conditions ask a little more of them than most climates do. The salt, the washing cycles, the freeze-thaw winters, it all adds up faster than expected if the basics aren’t in place. Getting the backing right from the start, washing with a bit of care, and doing a quick seasonal check on branded gear covers most of what you need. The patches that last years rather than months aren’t necessarily better quality. They’re just looked after a little more consistently.

I’m the creative voice behind the blog at Embroidered Patches Canada, where I turn custom patch design into clear, practical insights for brands, teams, and creators. I provide tips on how to design embroidered patches that not only look spectacular but also have a lasting impact, covering everything from materials and stitch styles to advertising strategies and patch trends. I help companies, organisations, and individuals transform their ideas into elite custom patches that tell a story by providing in-depth instructions, trend updates, and professional advice.